How to Fit Pre-Cut Window Tint
Fitting pre-cut window tint is much easier than cutting film from a roll, but preparation and patience are still important. Each piece is already shaped for your vehicle’s glass, which helps reduce trimming, waste and guesswork. The best results come from working in a clean area, using the right tools and taking your time with each window.
This guide explains the basic steps for fitting a pre-cut window tint kit at home.
Before You Start
Choose a clean, dry and sheltered place to work. Avoid fitting tint outside in strong wind, rain or direct sunlight, as dust, water spots and fast drying can make the job more difficult.
Make sure the glass is cool to the touch and the inside of the vehicle is as clean as possible. Dust and dirt are the main causes of bubbles, marks and trapped particles under the film.
Tools You May Need
For most installations, you will need:
-
A spray bottle with fitting solution
-
A squeegee
-
A clean microfibre cloth
-
A sharp blade or trimming knife
-
A hard card or tinting tool
-
A heat gun for curved glass, if required
-
Clean water and a suitable glass cleaner
Using proper tinting tools will usually give a better finish than trying to fit the film with household items.
Step 1: Check the Film Pieces
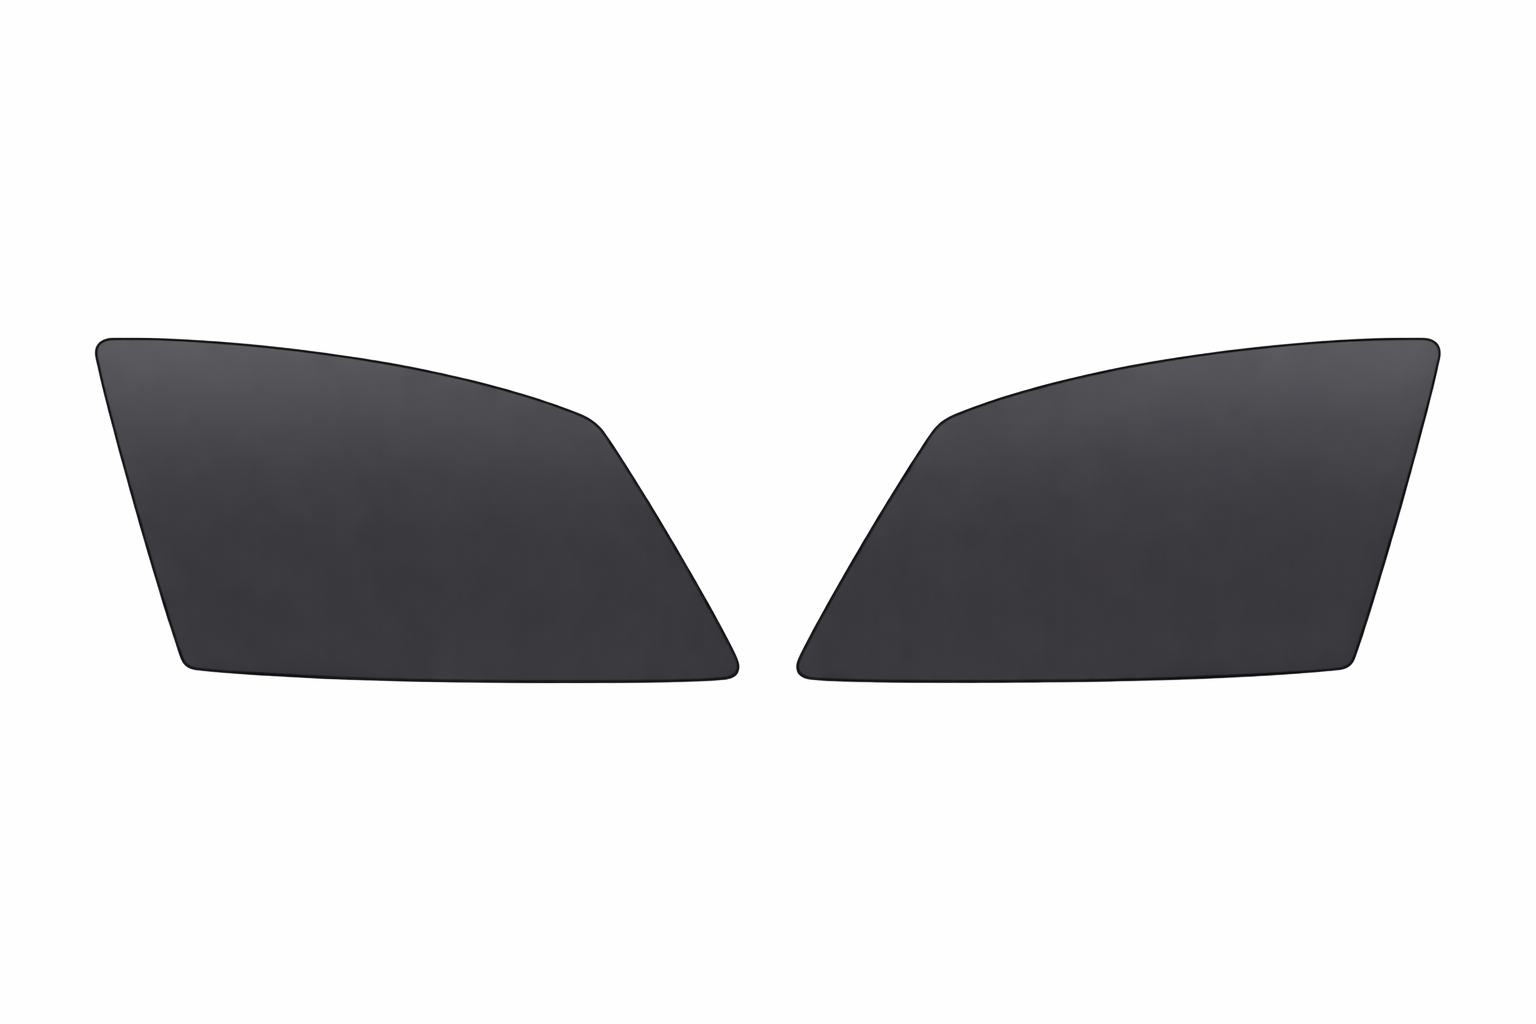
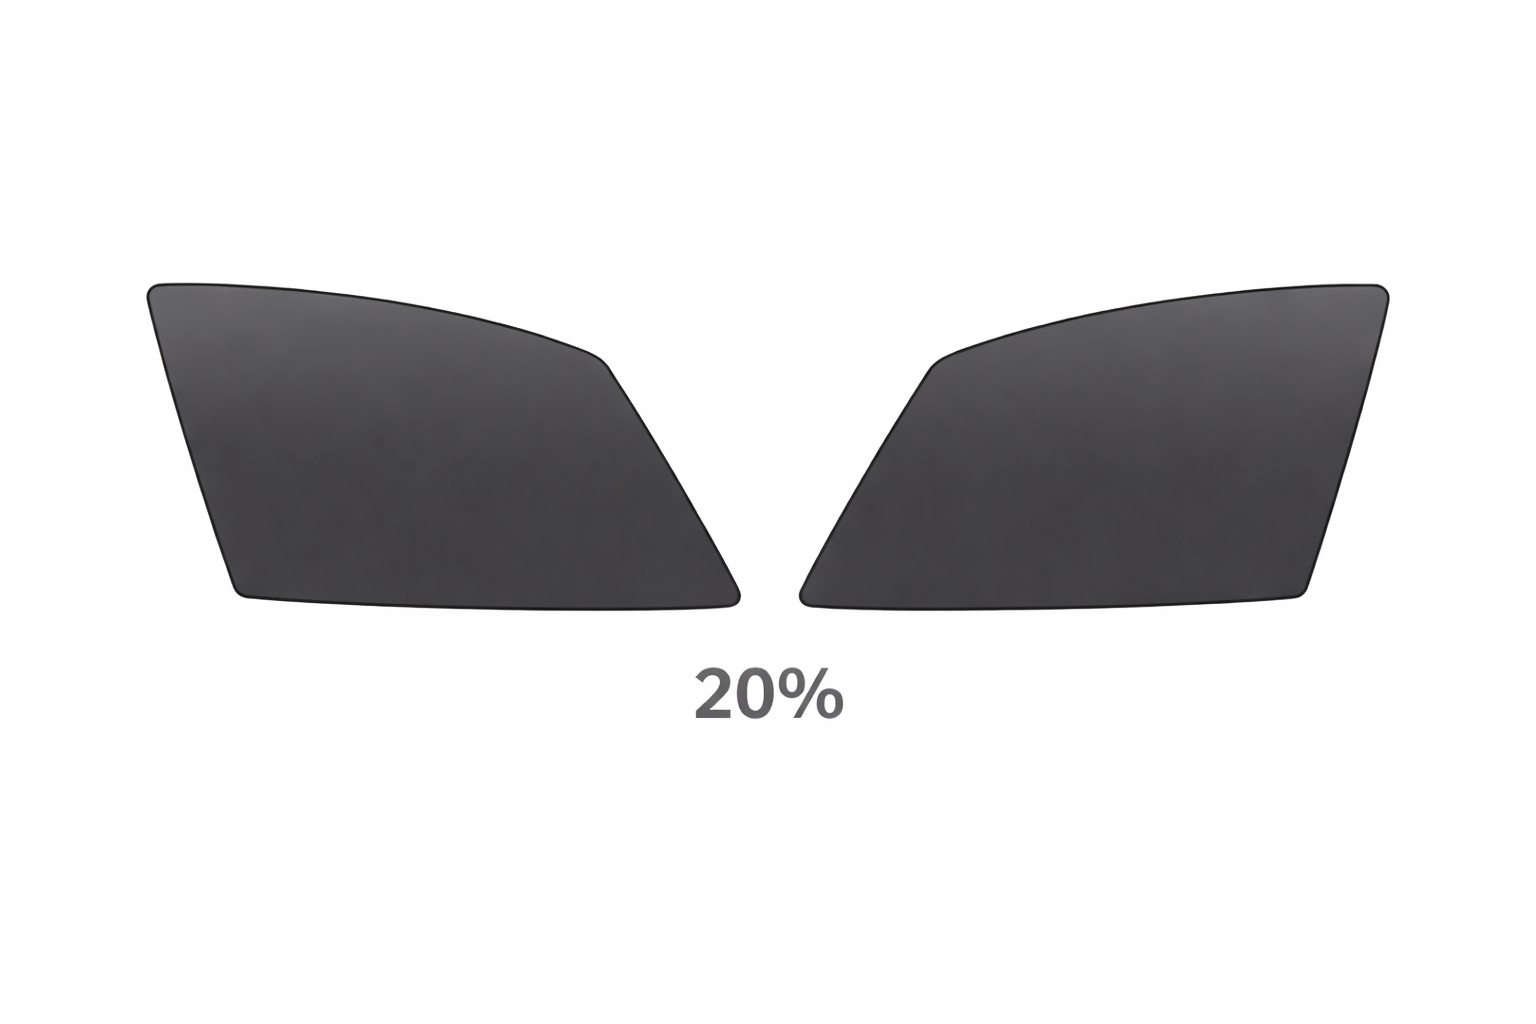
Before applying anything, carefully check the pre-cut tint pieces against the windows they are designed to fit. Make sure you have the correct pieces for the front door windows, rear side windows and rear screen where included.
Do not remove the liner until you are ready to apply the film. Handle the tint carefully and avoid creasing it.
Step 2: Clean the Glass Thoroughly
Clean the inside of the window properly before fitting the film. Spray the glass, wipe it down and remove any dust, grease, fingerprints or marks.
Pay close attention to the edges of the glass and the area around the window seals, as dirt often collects there. Any contamination left on the glass can become trapped under the film and affect the final finish.
For opening side windows, slightly lower the glass so you can clean the top edge properly, then raise it again before positioning the film.
Step 3: Spray the Window with Fitting Solution
Once the glass is clean, spray the inside of the window with fitting solution. The solution helps the film slide into position before it starts to grip the glass.
Do not apply the tint to dry glass. A wet surface gives you more control and helps reduce creases, dragging and trapped air.
Step 4: Remove the Liner
Carefully peel the protective liner away from the adhesive side of the tint film. As you remove the liner, spray the adhesive side with fitting solution to keep it wet.
Try not to touch the adhesive with your fingers. Holding the film by the edges will help keep it clean.
Step 5: Position the Pre-Cut Tint
Place the wet adhesive side of the film onto the inside of the glass. Because the film is pre-cut, it should already match the shape of the window.
Gently slide the film into position, checking the edges and corners as you go. Do not rush this step. Getting the film aligned properly before squeegeeing will make the rest of the fitting process much easier.
Step 6: Squeegee Out Water and Air
Once the tint is positioned correctly, spray the surface of the film so the squeegee can glide over it without scratching.
Starting from the centre, use the squeegee to push water and air out towards the edges. Work slowly and evenly. Use firm, controlled pressure, but do not force the film if it starts to crease.
Repeat the process until the film sits flat against the glass and most of the moisture has been removed.
Step 7: Work Carefully Around Edges and Seals
The edges are where many fitting issues happen, so take extra care around window seals, corners and tight areas.
Use a hard card or suitable tinting tool wrapped in a cloth to press the film neatly into place. Make sure the edges are secure and that no water pockets remain.
For opening windows, avoid lowering the glass until the film has had time to dry properly.
Step 8: Use Heat on Curved Windows If Needed
Some rear screens and curved glass may need gentle heat to help the film conform to the shape of the window.
Use a heat gun carefully and keep it moving. Do not hold heat in one place for too long, as this can damage the film. The aim is to gently help the film settle, not overheat it.
If you are new to tinting, take extra time with curved glass. Rear screens are often more difficult than flat side windows.
Step 9: Let the Tint Dry
After fitting, allow the tint to dry fully. Drying time can vary depending on the weather, temperature and how much moisture remains under the film.
During this period, small hazy areas or light moisture marks may appear. These often clear as the film dries. Avoid touching, cleaning or lowering tinted windows too soon.
Step 10: Check the Finish
Once the film has dried, check the edges and overall finish. A good installation should look smooth, clean and properly aligned with the window.
If you notice small water pockets immediately after fitting, they may dry out naturally. Larger bubbles, trapped dirt or creases are usually signs that the glass was not clean enough, the film moved during fitting, or too much pressure was applied in one area.
Common Fitting Mistakes to Avoid
Avoid fitting tint in a dusty or windy area, as particles can easily get trapped under the film. Do not apply the film to dry glass, and do not rush the positioning stage.
Be careful not to crease the tint when handling it, especially on larger rear window pieces. Also avoid using too much heat too quickly, as this can distort or damage the film.
Most importantly, take your time. Pre-cut tint makes the job easier, but careful preparation is what gives the best result.
Final Advice
A pre-cut window tint kit is designed to make DIY tinting more straightforward, but a clean working area, careful handling and proper fitting technique are still essential.
Start with the easier windows first if you are new to tinting, then move on to larger or more curved pieces once you are more confident. With patience and the right tools, pre-cut window tint can give your vehicle a smart, professional-style finish from home.